Quick start
This page gets you to your first useful action. You do not need to learn every screen first: sign in, identify your role, then follow the matching path below.
Before you begin
- Use a supported modern browser. Chrome, Edge, and other Chromium-based browsers provide the best support for the sample-label printing bridge.
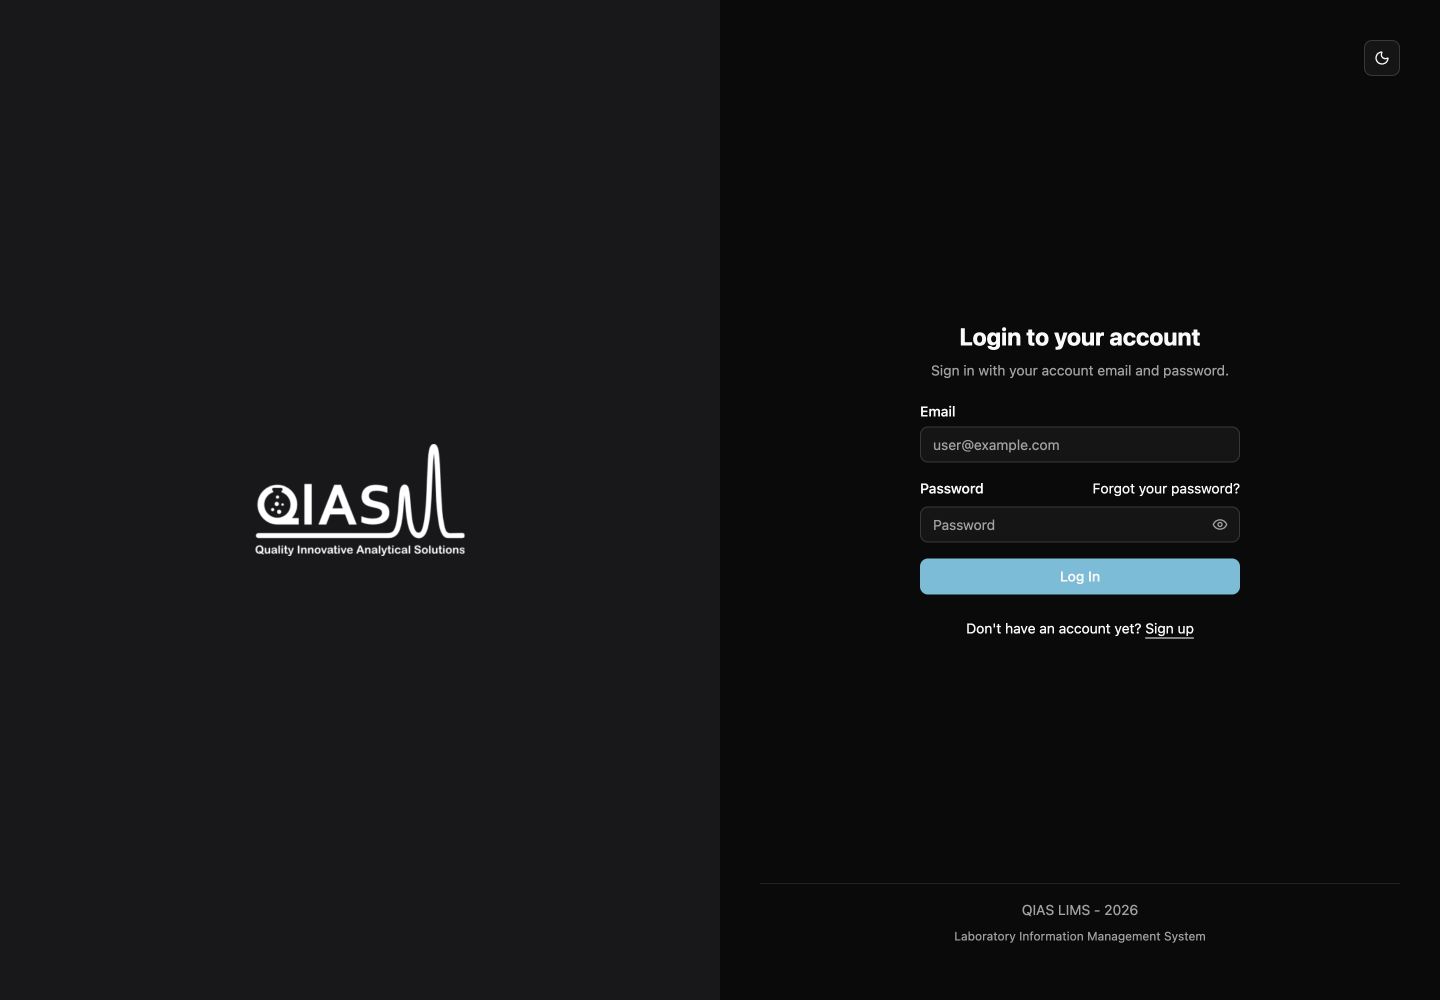
- Open QIAS LIMS and sign in with the account invitation or registration details provided to you.
- Verify your email if QIAS LIMS asks you to do so.
- Set up multi-factor authentication (MFA) when prompted. Staff members may be required to complete this before continuing.
- Open Settings after your first login to confirm your profile, phone number, notification preferences, and default workspace.
Your screen is role-aware
QIAS LIMS intentionally shows different navigation and actions to clients, staff, reviewers, billing users, and administrators. Not seeing an action does not necessarily mean an error; it may belong to a different role or require the job to reach a later stage.
Choose the task you need to complete
I am a client
Goal: create a request, respond to commercial documents, then retrieve the approved result.
I deliver or review work
Goal: work only on jobs assigned to you, then submit or validate the result.
I manage the operation
Goal: keep the commercial and delivery workflow moving while preserving traceability.
Client: submit a request and follow it to results
- Select or create a Project.
- Choose Add Job and select sample analysis, training, or consultation.
- Complete the request details and save it as a draft if you need to return later.
- Submit the request when ready.
- Review the quotation when QIAS LIMS notifies you. Accept it or decline it.
- Review the invoice, then upload your payment proof.
- Follow the instructions QIAS LIMS sends after payment is confirmed.
- When results are published, open the job and download the released documents.
Continue with Projects and service requests.
Technician: receive samples and record work
- Open Jobs and use the filters to find an assigned sample-analysis job.
- Open the job and check Next Action. You can only start once the physical samples are recorded as received.
- In the Sample Workflow tab, mark the samples received. QIAS LIMS issues the sample IDs and makes labels available.
- Select Start Work once the receipt step is complete.
- Create the required tests, select a test, record execution details and results, then complete the test.
- Upload the final report and submit the job for review.
Continue with Sample analysis.
Use the job's Next Action panel first
Every job has prerequisites. If a button is unavailable, Next Action explains the missing predecessor, such as sent instructions, sample receipt, a schedule, an assignment, or a clean report.
Trainer or consultant: complete a service session
- Open an assigned job from Jobs.
- Confirm that the admin has sent next instructions and that you are assigned as the execution owner.
- In Training Workflow or Consultation Workflow, confirm the schedule.
- Mark the session completed after delivery.
- Upload the required completion report or session summary.
- Submit the job for review.
Continue with Training and consultation.
Reviewer: validate and return work when needed
- Open Validation Queue.
- Select a job assigned to you.
- Review the final deliverable and the relevant recorded work.
- Approve it to make it ready for delivery, or request changes with clear comments.
Continue with Validation and rework.
Administrator: keep work moving
- Use Dashboard to understand operational queues and outstanding work.
- Review submitted requests and move them through quotation, invoice, and payment confirmation.
- Assign an execution owner and, when appropriate, a validation reviewer.
- Send next instructions after payment is confirmed.
- Publish approved results, then close jobs once the release is complete.
- Use Admin for users, client accounts, static data, billing, and audit activity.
Continue with Commercial workflow.
Know the three job types
| Job type | Client requests | Internal delivery outcome |
|---|---|---|
| Sample analysis | Samples, requested service/method, handling details | Final report and, where applicable, certificate of analysis (CoA) |
| Training | Topics, participants, preferred schedule | Completion report and attendance evidence |
| Consultation | Consultation area, preferred time, support material | Session summary |